Basic First-Aid Techniques – Introduction
This module introduces the essential hands-on techniques used in Basic First Aid. These skills form the foundation of effective first response and are designed to stabilise a casualty until professional medical help arrives.
Topics to Be Covered
-
The Chain of Survival
-
The Do’s and Don’ts of Basic First Aid
-
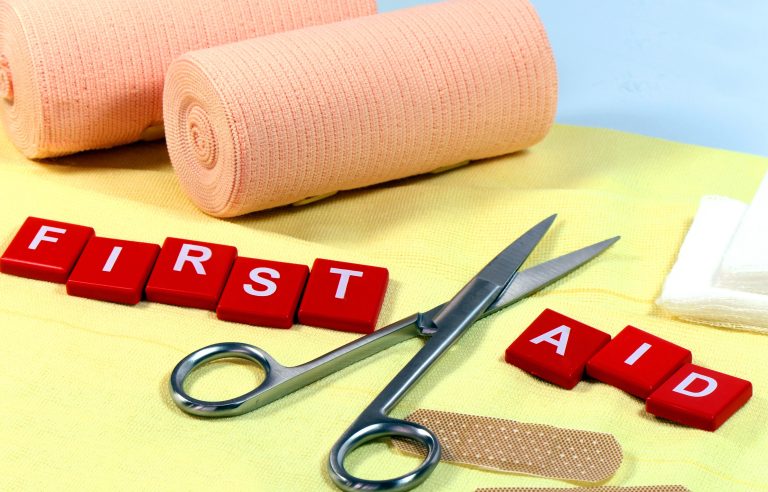
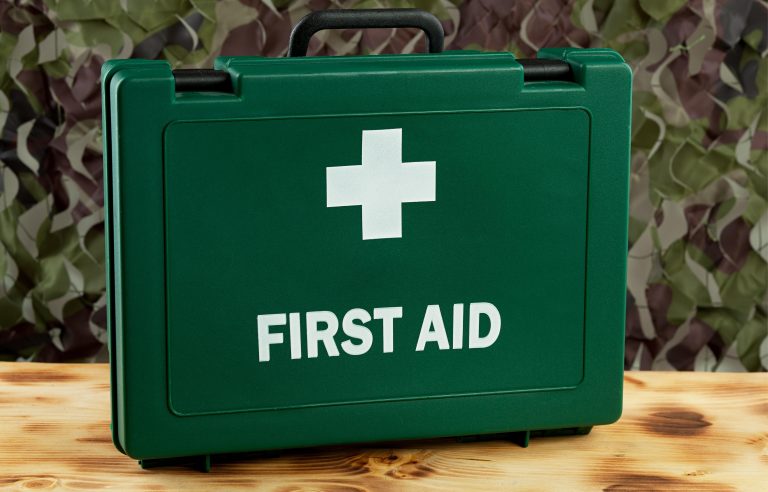
First Aid Kit
-
Necessary equipment in a First Aid Kit
-
How to make proper and best use of the First Aid Kit
-
How to use face shields
-
How to put on a dressing
-
How to put on a bandage
-
How to bandage a hand
-
How to bandage a sprain
-
How to conduct CPR
The Chain of Survival
The Chain of Survival refers to a series of medical actions that can be taken to prevent a fatality when a cardiac arrest occurs.
It was first documented in the USA in 1983 and has since been a trusted method of response. It is known as a “chain” because each step is as important as the next.
If these steps are not followed in a timely manner, the chances of survival can decrease significantly.
The four links are:
-
Try to Prevent Cardiac Arrest
-
Recognise early signs of a heart attack
-
Early recognition can help prevent it occurring
-
-
Try to Buy Time
-
Early CPR (Cardiopulmonary Resuscitation) may help stave off a full cardiac arrest until Medical Professionals arrive
-
-
Try to Restart the Heart
-
Early defibrillation can help shock the heart back into a regular rhythm
-
-
Try to Restore Quality of Life
-
Early Advanced Cardiac Life Support or post-resuscitation care performed by Medical Professionals can support a full and successful recovery
-
The speed at which each action is performed will greatly increase the chances of survival.
The Do’s and Don’ts of Basic First Aid
DON’Ts
When performing basic First Aid treatment, there are some major “Do’s and Don’ts” that should be remembered for injuries.
-
Do not move the victim unless absolutely necessary or they are in danger. It could make injuries worse
-
Do not attempt to reset bones or obvious breaks. Keep the casualty as still as possible
-
Do not delay calling an ambulance if you have any suspicion of a life-threatening or changing injury
-
Do not apply a tourniquet around a limb when there is excessive bleeding. Use direct and gentle pressure instead
-
Do not apply ointments or gels straight onto a wound. Cover and/or clean it only
-
Do not try to remove foreign objects from an eye injury. Cover and protect the socket instead
The Do’s of Basic First Aid
-
Call an ambulance immediately for major injuries
-
Check the status of the casualty on a regular basis
-
Keep calm and reassure all patients that emergency help is on the way
-
Check that a casualty is breathing without difficulty and their airways are clear
-
Wear protection on your hands and body to prevent cross-infection
-
Start to apply CPR if cardiac arrest is suspected
-
Keep casualties warm or cool depending on the circumstances
Additional Do’s and Don’ts

-
Call the appropriate Poison Control Centres if poisoning is suspected
-
Assume a spinal injury has taken place during a fall or crash unless certain otherwise
-
Raise the head if bleeding occurs in the upper torso area, or feet if there is bleeding in lower torso areas
-
Flush burns, scalds, and chemical injuries with clean water
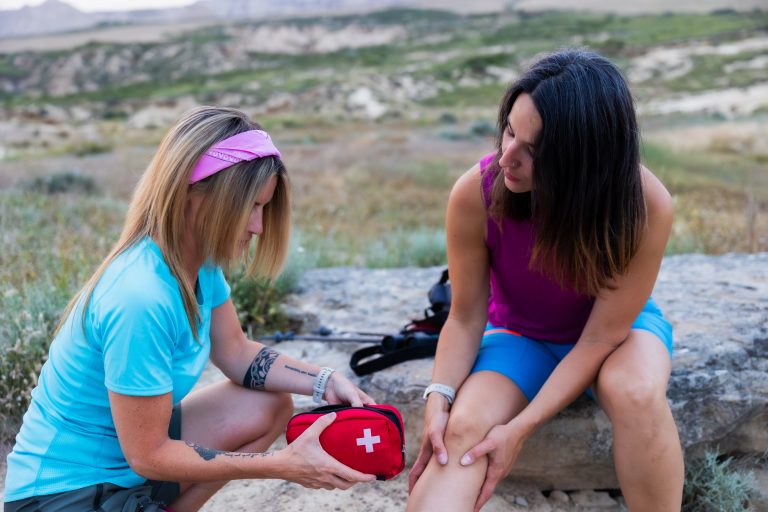
Remember: The first treatment given to a casualty can make all the difference in a crisis situation.
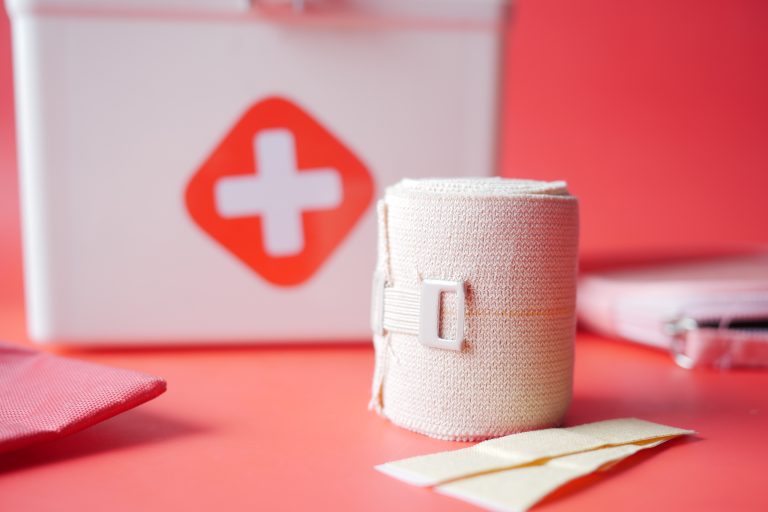
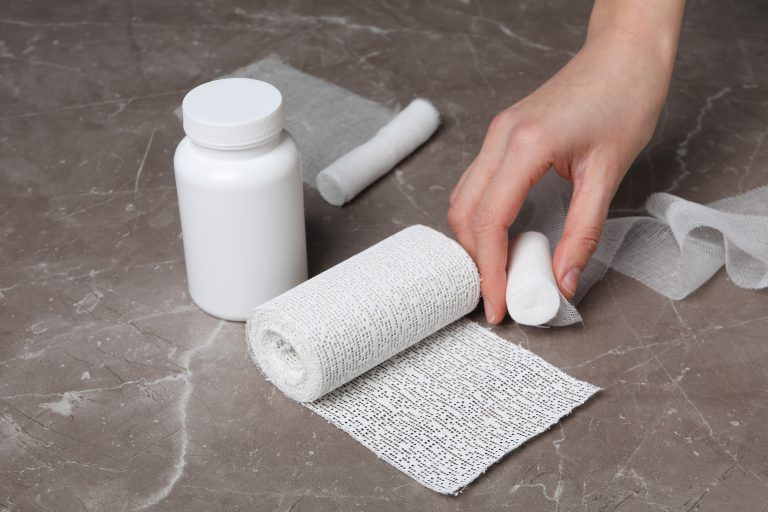
Necessary Equipment in a First Aid Kit
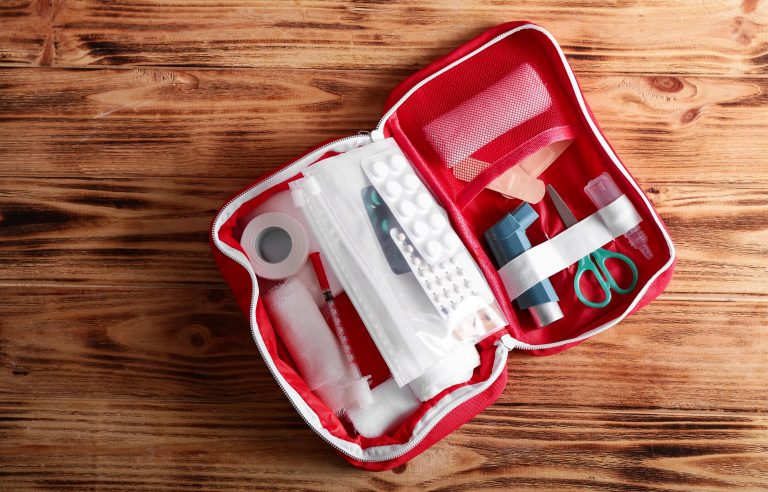
It is recommended that a First-Aider either carries or has immediate access to a First Aid Kit containing the following items as a bare minimum:
-
A water-proof case of some kind
-
Assorted plasters (at least 20)
-
Cooling gel for minor burns
-
A pocket mask or face shield
-
An emergency blanket
-
Latex-free disposable gloves
-
Safety pins
-
Splint material (or emergency foam) for immobilising limbs
-
Scissors
First Aid Kit – Additional Items
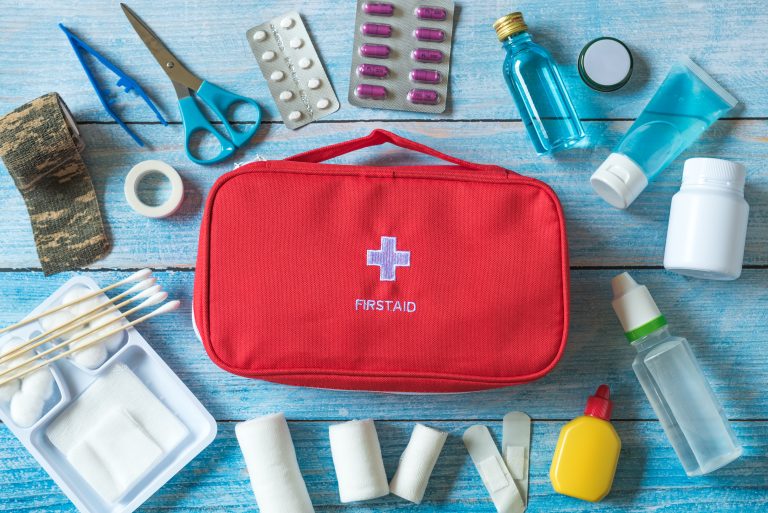
A more comprehensive First Aid Kit may also include:
-
Tweezers
-
Adhesive tape
-
Assorted bandages
-
An adaptable tourniquet or belt
-
Several sources of clean sterile water
-
Assorted forms of sterile wound dressings (including eye-pads)
-
Anti-bacterial wipes
-
Painkillers
-
Motion-sickness medication
-
Notepad and pen for record-taking
How to Make Proper and Best Use of the First Aid Kit
A First-Aider should know how to make the best use of the materials available and ensure the kit is always fully stocked and updated according to expiry dates and usage.
Dressings
-
Use dressings to cover and protect wounds and cuts
-
Wear gloves before applying to prevent infection
-
Ensure the dressing covers the entire wound
-
Never “slide” a dressing into place – place it directly over the wound
-
Do not remove a dressing if blood seeps through – apply additional dressings on top
-
Dispose of used dressings with chemical waste to prevent infection spread
Adhesive Dressings and Bandaging
Adhesive Dressings / Plasters
-
Use as per previous guidelines
-
Check the casualty is not allergic to the adhesive
-
Clean the skin around the wound so it will stick firmly
-
Apply directly from the top of the injury and position firmly using the edges
Bandaging
-
Used to cover wounds, prevent infection, and support limbs
-
Can be fastened with adhesive dressings, safety pins, or reef knots
-
Dressings and bandages must not restrict circulation once secured
How to Use Face Shields

A face shield (also known as a pocket mask or barrier device) is designed to protect both the First-Aider and the casualty during CPR.
It allows rescue breaths to be delivered without fear of cross-infection.
To use:
-
Place the face shield over the casualty’s face (some have diagrams printed on them)
-
Open the airway by tilting the head
-
Place your mouth over the face shield and provide rescue breaths
-
Continue CPR until professional medical help arrives
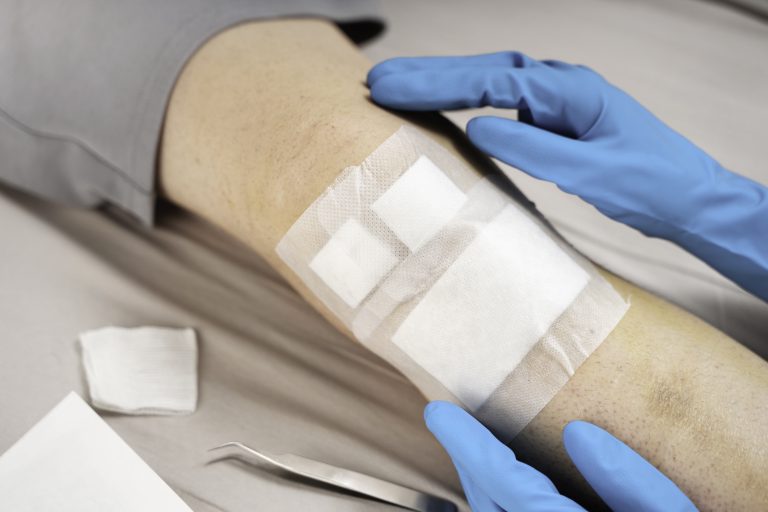
How to Put on a Dressing
Sterile dressings are usually purchased individually and come in different sizes.
Once packaging is opened, the dressing must be used or disposed of.
Best method:
-
Unwind the bandage and keep it sterile and clean
-
Unfold the dressing pad and gently place it over the wound
-
Hold the bandage to the side as you place the pad on the skin
-
Wrap the remaining bandage once around the limb or body
-
Use the pad itself to secure and protect the area
Securing a Dressing
-
Tie the ends of the bandage in a knot or secure with a safety pin
-
Follow the same process for adhesive dressings, but do not place adhesive directly into the wound
-
Dressings should never be too tight or restrict blood circulation
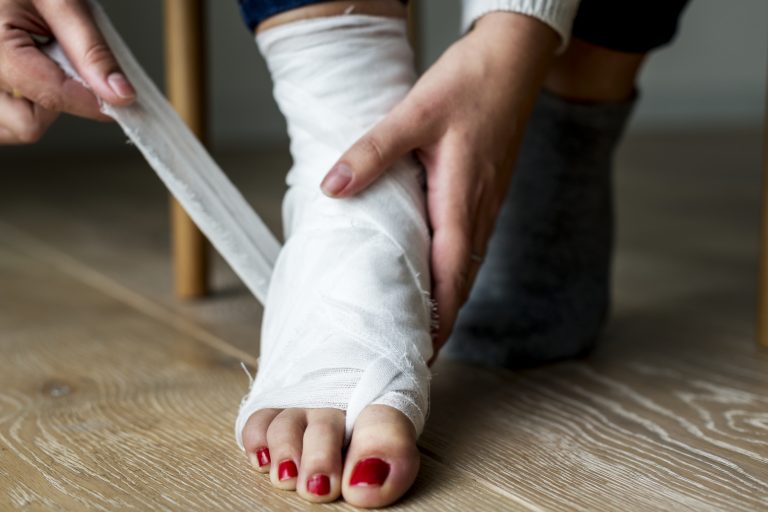
How to Put on a Bandage
Bandages are used to control bleeding, support limbs, and secure dressings.
General rules:
-
Make sure the casualty is comfortable and calm before treatment
-
Stand or kneel beside the casualty – do not lean across their body
-
Use an appropriate size of bandage for the limb or wound
Bandaging – Final Checks
-
Ensure the injured body part is fully supported in the correct position
-
Do not cover fingers or toes completely – this helps check circulation
-
Secure the bandage with a knot, safety pin, clip, or medical tape
-
Check the casualty remains comfortable
-
Check skin around the bandage is not swollen and there is no loss of sensation
How to Bandage a Hand

The most effective form of bandaging for a hand is a roller bandage.
Method:
-
Place the end of the bandage on the inside of the wrist below the thumb
-
Wrap the bandage around the wrist at least twice
-
Continue wrapping diagonally across the back and front of the hand
-
Repeat the diagonal wrap and keep a figure-of-eight pattern
-
Once covered (fingers kept free), fasten with a safety pin or medical tape
-
Check circulation by pressing a fingernail – colour should return within 2 seconds
-
Re-check every 10 minutes for swelling
How to Bandage a Sprain
If a casualty has sprained a joint (elbow, ankle, etc.), a bandage is essential to support the limb and prevent further injury.
A tight figure-of-eight motion is the most effective method.
Best method:
-
Hold the joint firmly with it slightly bent
-
Place the tail-end of the bandage inside the joint and pass it around the limb once
-
Wind the bandage in a figure-of-eight around the joint, diagonally above and below
-
Repeat several times, covering the area generously
-
Ensure circulation is not restricted
How to Make an Arm Sling
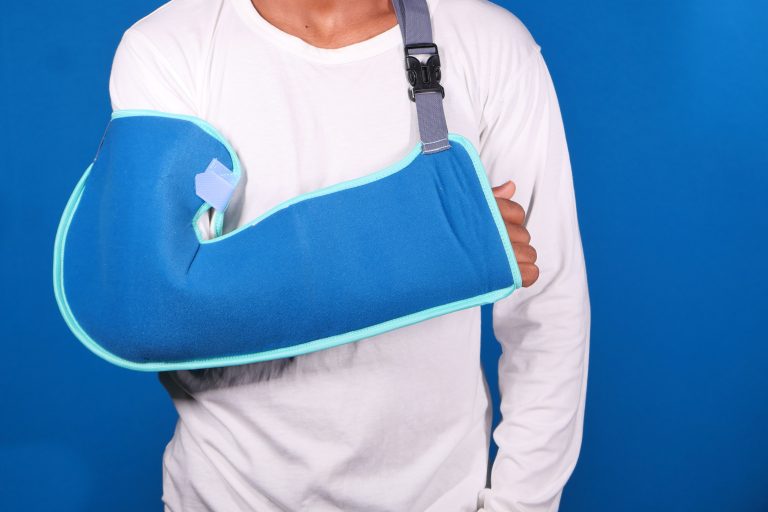
An arm sling is essentially a “hammock” for the arm. It is designed to hold the limb in a comfortable position that promotes healing and allows bones to mend naturally.
It also provides a clear visual signal of injury, helping give the casualty space.
Creating an Arm Sling
-
Ask the casualty to gently support their own arm (or ask a bystander for assistance).
-
Slide a triangular bandage under the injured limb.
-
Ensure the triangle points away from the elbow of the injured arm.
-
Bring the top of the triangular material around the back of the neck.
-
Fold the lower end of the sling over the arm and bring it up to meet the shoulder on the same side.
-
Tie the free ends together in a knot above the neck.
-
Adjust the sling so it supports the full length of the arm down to the fingers.
-
Use a safety pin to secure the knot if required.
-
Continue to check for circulation issues or swelling.
If a triangular bandage is unavailable, a jacket, shirt, or belt may be used temporarily.
How to Conduct CPR
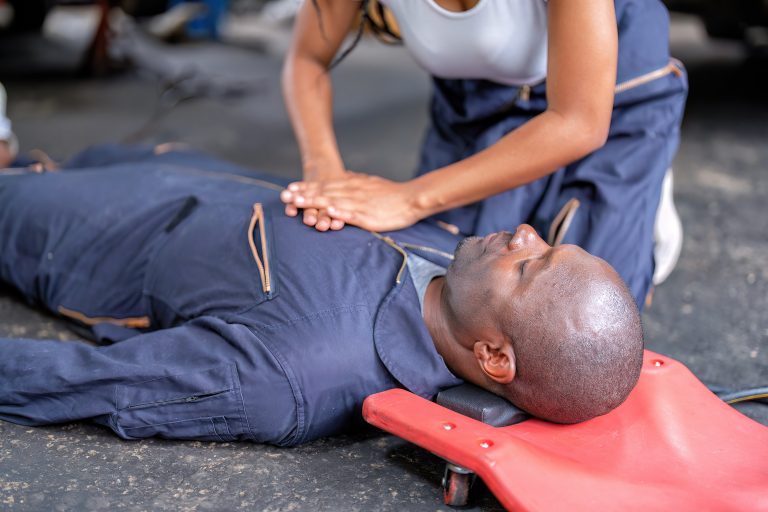
CPR (Cardio Pulmonary Resuscitation) is the globally accepted procedure used to promote circulation and breathing in a casualty suffering cardiac arrest.
It combines rhythmic chest compressions with rescue breaths to encourage oxygenation and blood flow until professional medical help arrives.
Initial Assessment
-
Check the area for danger.
-
Assess responsiveness by gently shaking the shoulders and asking loudly if the casualty is okay.
-
If unresponsive, shout for help but do not leave the casualty.
Check Breathing
-
Tilt the head back and look, listen, and feel for breathing for approximately 10 seconds.
-
If breathing normally, place the casualty in the recovery position and monitor.
-
If not breathing normally, begin CPR.
Chest Compressions
-
Call 999 / 112 or ask someone else to do so immediately.
-
Kneel beside the casualty.
-
Place the heel of one hand in the centre of the chest and the other hand on top.
-
Interlock fingers and keep arms straight.
-
Press down 5–6 cm at a rate of approximately 2 compressions per second.
Rescue Breaths
-
After 30 compressions, give 2 rescue breaths.
-
Tilt the head back, pinch the nose, seal your mouth over theirs, and breathe steadily.
-
The chest should rise and fall.
-
Continue cycles of 30 compressions and 2 breaths until emergency services arrive.
How to Use an AED
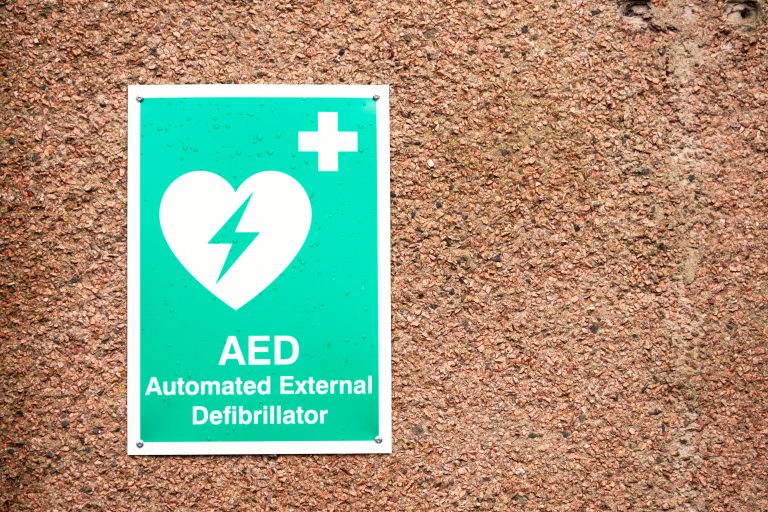
An AED (Automated External Defibrillator) is designed to allow a First Aider to deliver a potentially life-saving shock to a casualty suffering sudden cardiac arrest.
AEDs are commonly found in public places and are safe to use with minimal training.
Using an AED
-
Switch the AED on (many activate automatically when opened).
-
Place it near the casualty’s head.
-
Follow the spoken and visual instructions exactly.
-
Do not touch the casualty while the AED analyses or delivers a shock.
-
Continue CPR when instructed.
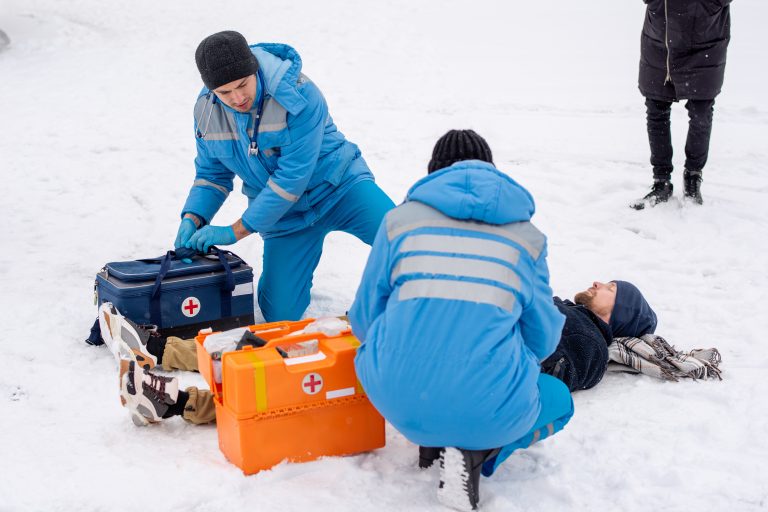
Rescuing Someone from Water or Fire
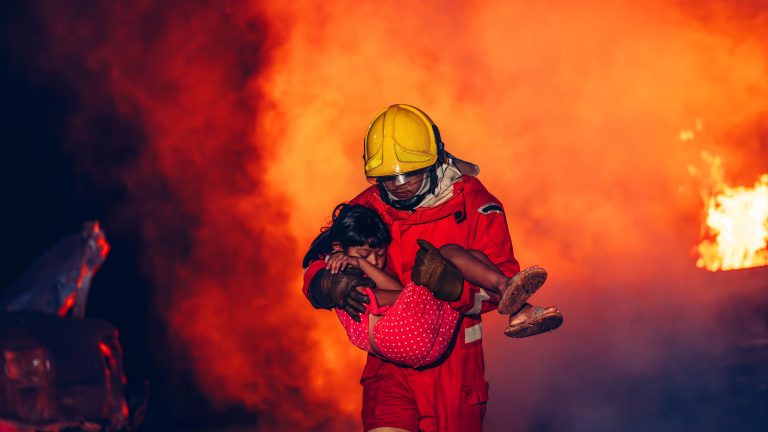
Fire Safety
-
Never re-enter a burning building unless officially given the “all clear”.
-
Assist with evacuation where safe to do so.
-
Direct emergency services to anyone you believe may be trapped.
-
Provide First Aid only when it is safe.
Electrical Hazards
-
Ensure there is no contact with a live electrical source.
-
Look for visible signs such as sparks or exposed wiring.
-
Turn off the local power supply if it can be done safely.
-
Do not touch the casualty until the electricity is fully isolated.
-
If isolation is not possible, call emergency services and wait.
Record Keeping
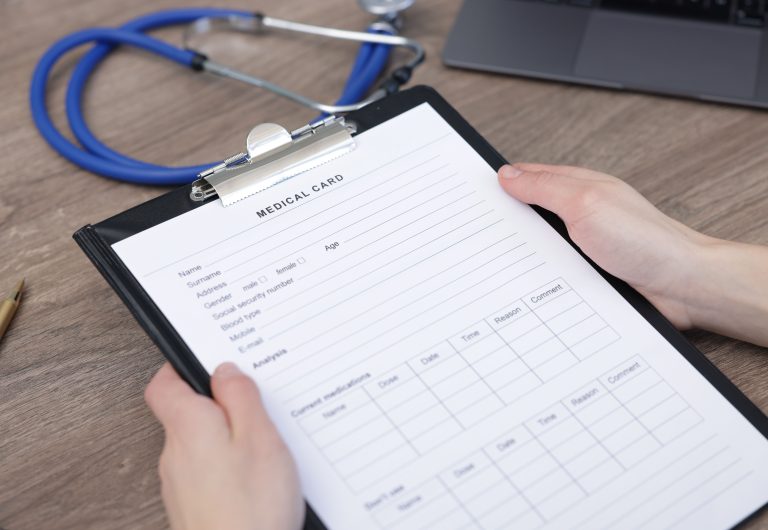
As required under UK regulations (RIDDOR), a trained First Aider must accurately record details of serious accidents and injuries.
Records must include:
-
Date, time, and place of the incident
-
Name of the casualty (and any known medical conditions)
-
Details of the injury or illness
-
Name and details of the First Aider
-
First Aid treatment administered
-
What happened to the casualty before emergency services arrived
This information must also be recorded in the Company Accident Book.
Summary
-
Basic First Aid techniques can prevent injuries from worsening
-
CPR and AED use can significantly increase survival chances
-
Temporary slings and dressings can support and protect injuries
-
Rescue situations involving water, fire, or electricity require extreme caution
-
Accurate record keeping is a legal and professional responsibility